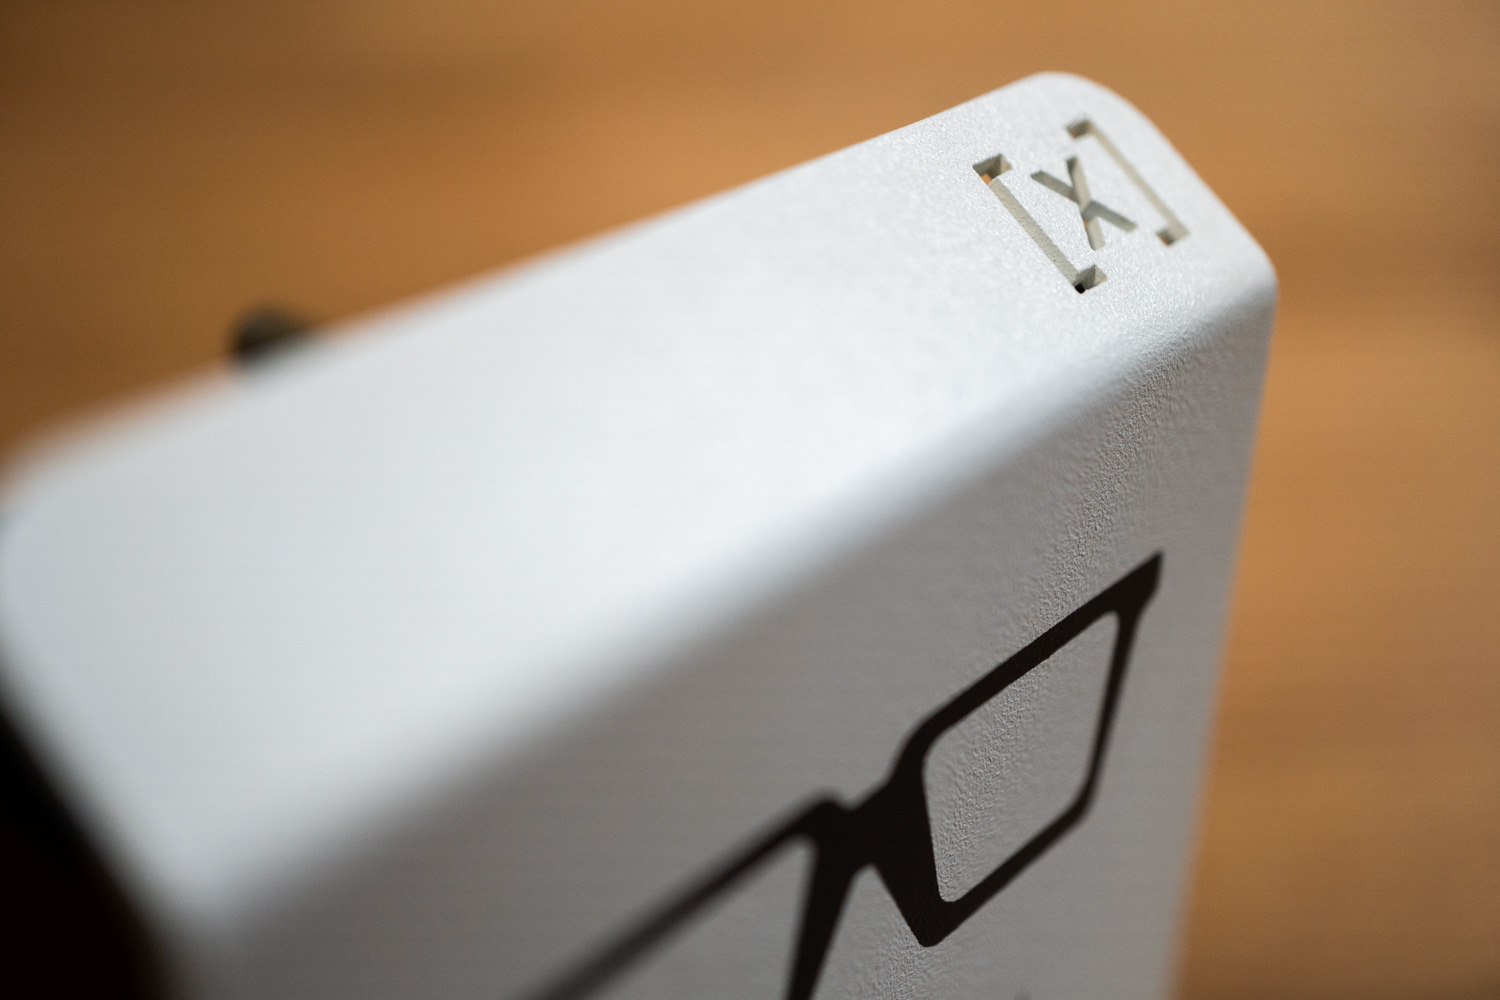
1. What's new - Mr Beam II dreamcut [x]?

- The new laser head now achieves twice the output power of its predecessor. This allows about twice the cutting and engraving speed for your laser jobs.
- In addition, with twice the power and a more vertical dreamcut airflow, there are also a variety of new materials and material thicknesses that you can now laser with your Mr Beam. For more information, see 5. What do I have to consider for the material settings and laser parameters?

- The new design of the cooler makes it easier to open and clean the laser head. More information can be found under 3. How is the new laser head constructed and how can it be cleaned?

- The dreamcut airflow is now directed through the laser channel with full force. This protects the lens more effectively from contamination.
2. What should I look for in the new laser head?
- Cutting width: If you are creating models, for example, you should make a test cut beforehand to measure the exact cutting width. The cut is slightly wider than with the dreamcut [S] due to the double power.
- Cutting mat: The cutting mat has had its day. The new laser is "unfortunately" too strong for it. Alternatively, we now have the new Mr Beam Sti[x] in the shop, which can be used with the dreamcut [x] without any problems.

- Air Filter: More power also means more throughput in the same time. And therefore also more material abrasion in the same time. And that in turn means that both the pre-filter mats/cartridge and the main filter will fill up faster. So it's even more important to do regular visual inspections so you can change the pre-filter promptly.
Note: With the new Air Filter System Air Filter III, your filters will last even longer with the same material throughput! You can find all information about the Air Filter 3 in this article.
3. How is the new laser head constructed and how can it be cleaned?
- The dreamcut [x] laser head has only one screw on the back. If you unscrew this, you can remove the front panel. This directly exposes the inside of the laser head.
Attention: Always remove the nozzle from the bottom of the laser channel and place it in a safe place when removing the front panel. Otherwise it can fall out and be lost quickly!

- The fan is now secured with a screw on the side so that it always sits perfectly. You never have to unscrew this screw completely.
 |  |
- The circuit board of the laser head is now also secured separately. You only need to remove it if you ever need to change your fan. Otherwise, it always stays in place.
Note: As with the previous models, this laser head must also be cleaned at regular intervals. We have created separate cleaning instructions for the Mr Beam II dreamcut [x].You want to use the new dreamcut [x] laser head with your Mr Beam? Then please note the following points:
4. This is how it works: insert dreamcut [x] laser head on previous model
- Before mounting: Make sure to perform a software update!
- Next, please turn off your Mr Beam completely, remove the old head (disconnect the flat cable from the black bracket, disconnect the compressor hose and remove the laser head mount) and mount the new one.
- When you turn on your Mr Beam again, a pop-up window will appear to notify you once the dreamcut [X] laser head is connected.
Hint: In some cases, a camera calibration may be required after inserting the new laser head. So please do a test laser job first before you start again. So if you have a stronger offset than usual, you can find a tutorial for camera calibration here.

5. What should I consider regarding the material settings and laser parameters?
- Since the dreamcut [X] laser head operates with more power, the recommended material settings differ from those of the previous models. However, the BeamOS software automatically recognizes the new laser head and adjusts the laser parameters accordingly. You can recognize this by the fact that the [X] sign now also appears at the very top, next to the Material window title.
- You only have to be careful with your own saved material settings - they will no longer fit the dreamcut [X] laser head! The software will show you a warning sign if the settings are not compatible.
- If you now save your own material settings with the dreamcut [X] laser head, they will appear in the software with an [X] and a check mark ✓ indicating compatibility.

Attention! Especially with the highly flammable materials you should be careful not to laser with the laser parameters of previous models!
6. What should I consider if I want to mount back the Mr Beam II dreamcut laser head?
(e.g. when the laser head of the Mr Beam II dreamcut [x] is being serviced).
Here, too, the BeamOS software automatically recognizes the change of the laser head. Only with your own material settings you have to be careful for which laser head you have created them. The BeamOS software helps you by displaying a warning sign next to an [x] for incompatible settings and a check mark ✓ for compatible settings.
Note: Here, too, a camera calibration is often necessary after the change. Click here for the camera calibration tutorial.