It is very rewarding to use a laser-cutter for text, as lettering usually requires high precision and attention to detail is crucial. In this tutorial we will go through different options for engraving and laser-cutting lettering with Mr Beam, with an emphasis on setting-up your vector-file correctly for cutting.
The simplest way to engrave a text with Mr Beam is to use the text tool directly in the Mr Beam software, where you will find various fonts to choose from. Please be aware that this way you can only engrave your text.


If you would like to cut out lettering, you must save your design as a vector file (SVG or DXF). You can edit with a vector editing program of your choice (e.g. Illustrator or Inkscape).

Tip: To get rid of redundant lines, mark all your text elements and choose "Combine" in the shape mode of the pathfinder menu in Illustrator.


Now you can adjust the details in your text design, if needed. For example, if you have some parts which might be too thin or too delicate after cutting, you can pull some vector lines further apart, using the direct selection tool. Or connect the dots of the "i"'s in your design with the rest of the lettering.
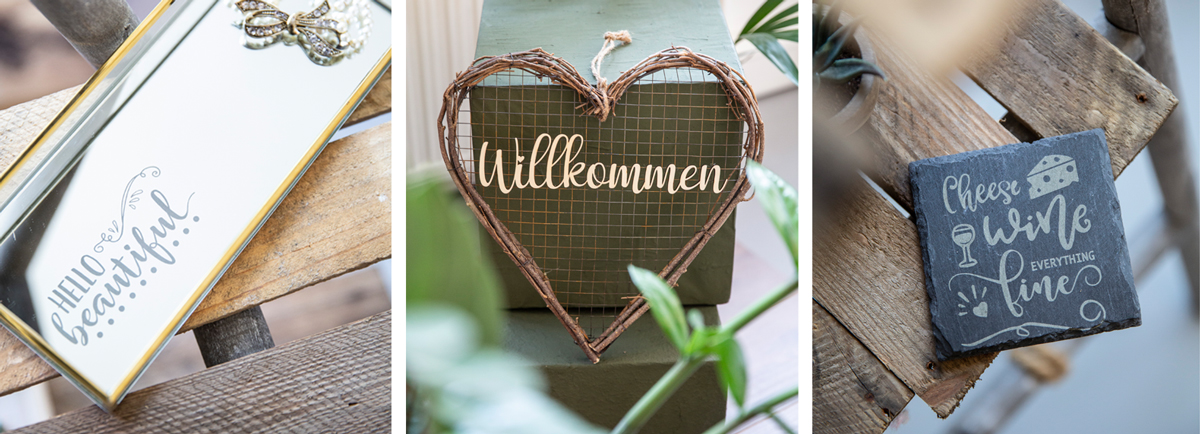
Have a look at our design store and scroll through our designs to gain more insight into how a lettering design suitable for laser cutting can look like.
 |  |  |
If you are looking for a free software for text editing, Inkscape might be a good option for you. Have a look at this video-tutorial by Euer Konstantin, where he explains how to set up a text file in Inkscape and lasercut it with Mr Beam!